
TUTORIAL ON HOW TO MAKE YOUR CAR BECOME A “MINI” – PHOTOSHOP
Are you excited to make your car become a mini? Read below and follow step by step. Hope you enjoy with this information that we get from the other source.
Let’s try!
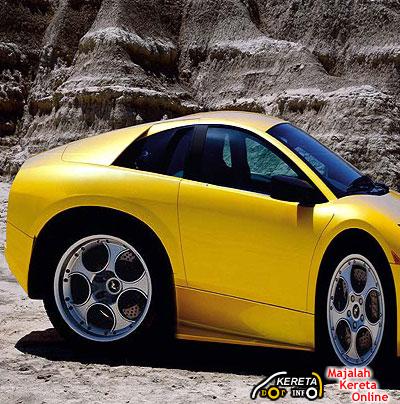
Turns out that in order to decrease the automobile in length, it isn’t enough simply to select the entire image and use the Free Transform tool to reduce its size by 2 times in width, i.e. when doing merely this the wheels go from circles to ovals and, as we all know by the law of physics, cars with such wheels cannot ride. This problem is easily solved, however, by way of decreasing the entire picture in length with the following superposition of either the wheels from the beginning size or the wheels reduced in proportion. On account of this you should adjust the segments adjacent to the wheels, so that they have smooth logical edges. So let’s start from the beginning.
Open the image in Photoshop. Using the Wizard Tool, make selection of a shadow under the car and around the wheels, and then add to the selection wheels using the Marquee Tool.
Expand the selected area up to 11 pixels Select>Modify>Expand…(in order to capture the fenders above the wheels). Duplicate the selected area in a new layer (Ctrl+J). Then duplicate it once more.

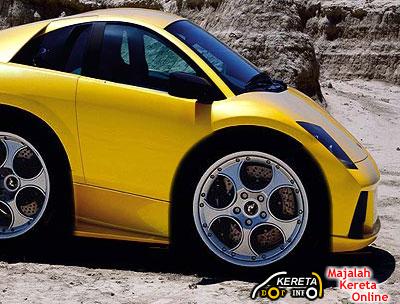
Choose the layer with the original car and using the Free Transform (Ctrl+T) tool decrease it by 2 times in width.
Hide one of the layers with the wheels and shadow, select another and cut it in half (so that all that is left is the rear wheels and the portion of shadow under the car). Turn the layer so that the rear wheels are approximately evenly matched. Add a Layer mask (Layer>Layer Mask>Reveal All).

Using a black brush, get rid of all extraneous details on the car.
Tip: To make this process easier, to prevent the accidental touching of the brush to the shadow of the rim around the wheels, you can highlight the shadow in advance using the Magic Wand Tool, and then invert the highlighted area (Ctrl+Shift+I).
At the bottom you need to place the shadow under the car from the reduced version to the 50% version. You need to remove everything beneath the groove on the back end, making certain that all is smooth. And on the front end, you should remove everything that is under the line and also open the vertical groove from the door.
Then go to Channels, choose mask, select the right portion that is adjacent to the shadow of the wheels, and slightly blur it so that the areas blend better and the transition from one to the other is less noticeable.

Next – the front end. Things are little tricky with the wheels at the front end.
Choose the remaining untouched layer with the wheels and shadow, make it visible and cut off the rear half (so that all that remains is the front wheel and the portion of the shadow beneath the car). Turn the layer so that the front wheels are approximately even. Add a Layer mask (Layer>Layer Mask>Reveal All).

Then once more, as in the case with the rear wheels, get rid of all extraneous detail on the car.
At the bottom you need to place the shadow under the car from the reduced size to the 50% version. You need to remove everything up to the shadow from the headlight, including the headlight. This ensures a smooth transition. The front portion is the most problematic. Here you need to remove everything up to the middle of the large blue headlight. Also, you need to cut off a small piece of the upper portion, to ensure that the edge of the large fender held the form of the headlight.
Then go to Channels, choose mask, highlight the part that is adjacent to the shadow of the wheel and slightly blur it. You can take advantage of such blurring effect in the upper portion of the fender.

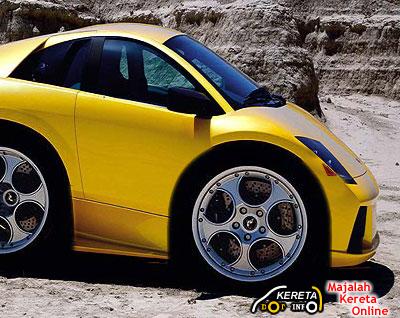
Now you can reconstruct a few details, hidden by the oversized wheels, in particular, the front end side light.
Choose the layer with the miniaturized car, preliminarily hiding the layer with the wheels. Using the Lasso tool select the front side light and copy it to a new layer. Bring this layer to the front (Ctrl+Shift+]). Then place the side light closer to the front like in this picture.
Click the link below to see more pictures about Mini Supercar.
(http://kereta.info/mini-supercar-mini-ferrari-mini-bentley-mini-lotus-look-at-this-gallery/)

Jom komen!